
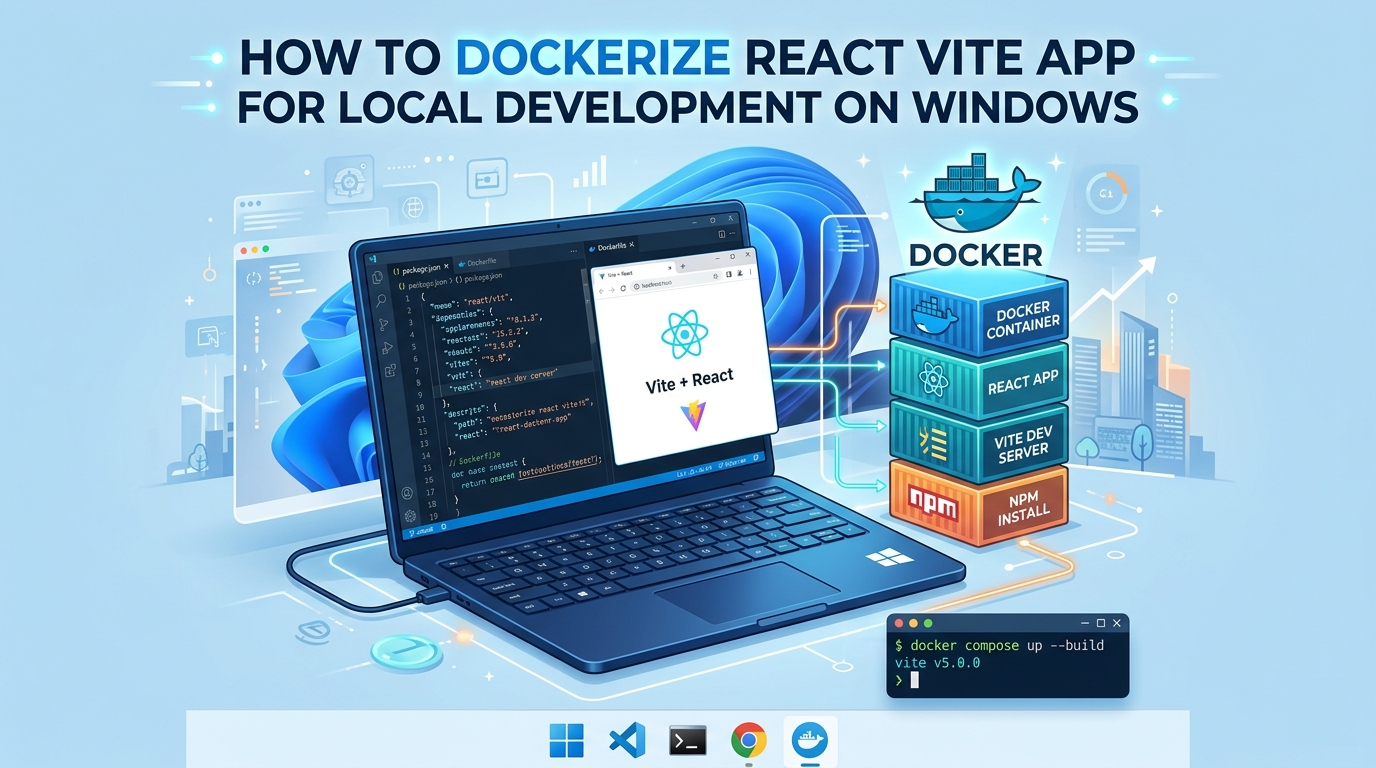
In this guide you will learn how to Dockerize React Vite App for local development using Docker Desktop, Dockerfile, Docker Build and Docker Compose.
Why Dockerize your App
It might feel like an extra step, but dockerizing your app helps you save a lot of time and headache setting up your project, and also prevents several invisible problems that might crash your app at any moment during development or feature deployments, specially if you have more than one developer in your team.
It keeps everything like the code and the software(PHP, Node) and it’s dependencies consistent across different machines. You might be working on windows and your colleague might be working on a mac but you deploy to Linux servers. You have Node 20 but your colleague might have node 16 installed on his machine. Docker takes care of installing everything making sure everything stays the same across different environments and platforms.
With docker you can concurrently setup and run different kinds of apps with different software versions and dependencies to run on the same machine. Each project’s environment is isolated so you don’t need to swap software version to run different projects.
Docker helps you focus on the code instead of infrastructure. Dockerfile and Docker Compose makes setting up your environment very easy, for example all you need to do is clone the project and with just one docker command you have your react app, node backend and the database all setup and running for you.
How to Dockerize your React App
You have a react app on you local windows machine or mac that is running fine. But now you want to put it in a docker container. For this we need to first create a custom docker image using Dockerfile and Docker build commands.
But, before that you need to install docker desktop if you don’t already have it on your machine.
Once you have Docker running on your machine, browse to the root of your React project and create a file called Dockerfile and copy/paste the following code.
# I am using node:latest in this example but you should probably
# use a lightweight version with a fixed version tag like 25.9.0
# or 25.9.0-alpine3.23
FROM node:latest

# Set you work directory
WORKDIR /app

# Copy the package.json file
COPY ./package*.json ./

# Install dependencies
RUN npm install

# Copy all the project files
COPY . .

# Expose the vite server port
EXPOSE 5173

# Run the dev server
CMD ["npm", "run", "dev"]
What does it mean
FROM tells Docker which image to use as base image in order to create your custom image.
WORKDIR sets your default directory for the image. This is the directory from where all the commands that follow for example RUN, COPY, CMD etc are executed. If this directory doesn’t exits docker will create it for you.
RUN is used to execute specific commands. In our case we are copying over the package.json file and running 'npm install' to install the dependencies.
COPY is used to copy files from project directory to the WORKDIR inside the image. Use'COPY . .' to copy everything from your project directory to WORKDIR. But in our case we are only going to copy the package.json file.
EXPOSE is used to open the container’s ports to the parent machine. It means the container is listening on this port and we can communicate with it via this port, but you will need to map this port to your local machine port when creating a container in order to access the app server inside the container.
CMD is executed after you create a container with image created from the Dockerfile. In our case it’s starting up the vite’s dev server with the 'npm run dev' command.
Create custom image with Docker Build
Now you can build your custom image using this Dokcerfile. Go to the root of the project where the Dockerfile is and open your favorite terminal tool like git bash or you can also use the terminal on Docker Desktop you installed earlier, just make sure to cd into the correct folder.
Docker Ignore file
Before you build the image, make sure to create a .dockerignore file in the root of the project to avoid copying some files and folders you don’t want copied over during the build process like the nodes_modules folder. It works just like .gitignore file.
It will make your image small and avoid conflicts between windows modules folder and container module folder. Copy the following and any other files or folder you don’t want to copy over to the image.
node_modules
dist
.git
Dockerfile
docker-compose.yml
Now, use the following command to build you custom image.
docker build -t custom-image-name .'custom-app-name' is the name of the image you want to set. Docker will now download the base image, copy package.json, run 'npm install' and then copy all the files from the project folder to the /app folder in the new custom image.
Now run this command to see your image in the list of images
docker imagesCreate container
Now you can create your first container using this image, use the following command.
docker run -d -p 5173:5173 -v .:/app -v /app/node_modules --name container-name custom-image-nameWhat does it mean
'docker run' command is used to create the container.
-d means to run the container in detached mode which it will start the container in background.
-p binds the local port the container port - localPort:containerPort. You can use any available local port you like.
-v is used to bind the local project directory to the one in the container so if any change is made in the code locally it is synced into the container.
--name sets the container name.
If everything went smoothly you should see a long string as output. That is your new container’s ID.
Docker Compose
Instead of remembering and writing a long docker run command every time you want to create a new container, you can write a docker-compose file and use a very small docker compose command to create, start and stop the container.
Create a new file called docker-compose.yml in the root of your project with the following code.
services:
  web:
    build: .
    image: custom-image-name
    ports:
      - "5173:5173"
    volumes:
      - .:/app
      - /app/node_modules
Docker Compose commands
Up command
Now use the following command in the terminal to build the image from the Dockerfile and create a container using that image with your App running inside it.
docker compose upIf the custom image from docker file and the container is not already built, it will built the image, create a new container and start the container showing the logs in terminal.
Next time you run this command it will check if the custom image and container already exit, it will start the container skipping the build process.
Detached mode
In order to run the container in detached mode (running in the background) add -d at the end of the command.
docker compose up -dStop command
docker compose stopThis will stop the container but keep the container. In order to start the container you use 'docker compose up' command and it will start the container.
Down Command
docker compose downThis will stop and delete all the containers and networks
Other common Docker Compose commands
docker compose psShows the status of all the container in the project
docker compose logs -fShows the logs
Test the new container
Your new container should now be built and running. Run the following command to see it listed under the list of running containers.
docker psTo test if your app is running browse to http://localhost:5173/ and It should serve your app.
Allow Vite to listen to requests outside the container
Most probably you won’t see anything on the localhost page above. This is because Vite is listening to requests locally within the container. To allow Vite to listen to requests outside of the container you need update the package.json file.
Look for the line that says "dev": "vite" and change it to "dev": "vite --host 0.0.0.0".
Enable usePolling
Since we are using volumes meaning the code in our project is synced with the code inside the container but you will notice if you change the code locally it doesn’t reflect in the container. To fix this you need to enable Polling in vite.config.js file like the following.
export default defineConfig({
  plugins: [react()],
  # Add polling with 100ms interval
  server: {
    watch: {
      usePolling: true, // This forces Vite to check for file changes manually
      interval: 100,    // Check every 100ms
    },
  },
})
Feel free to ask me in comments if you have any questions or see any issues.